


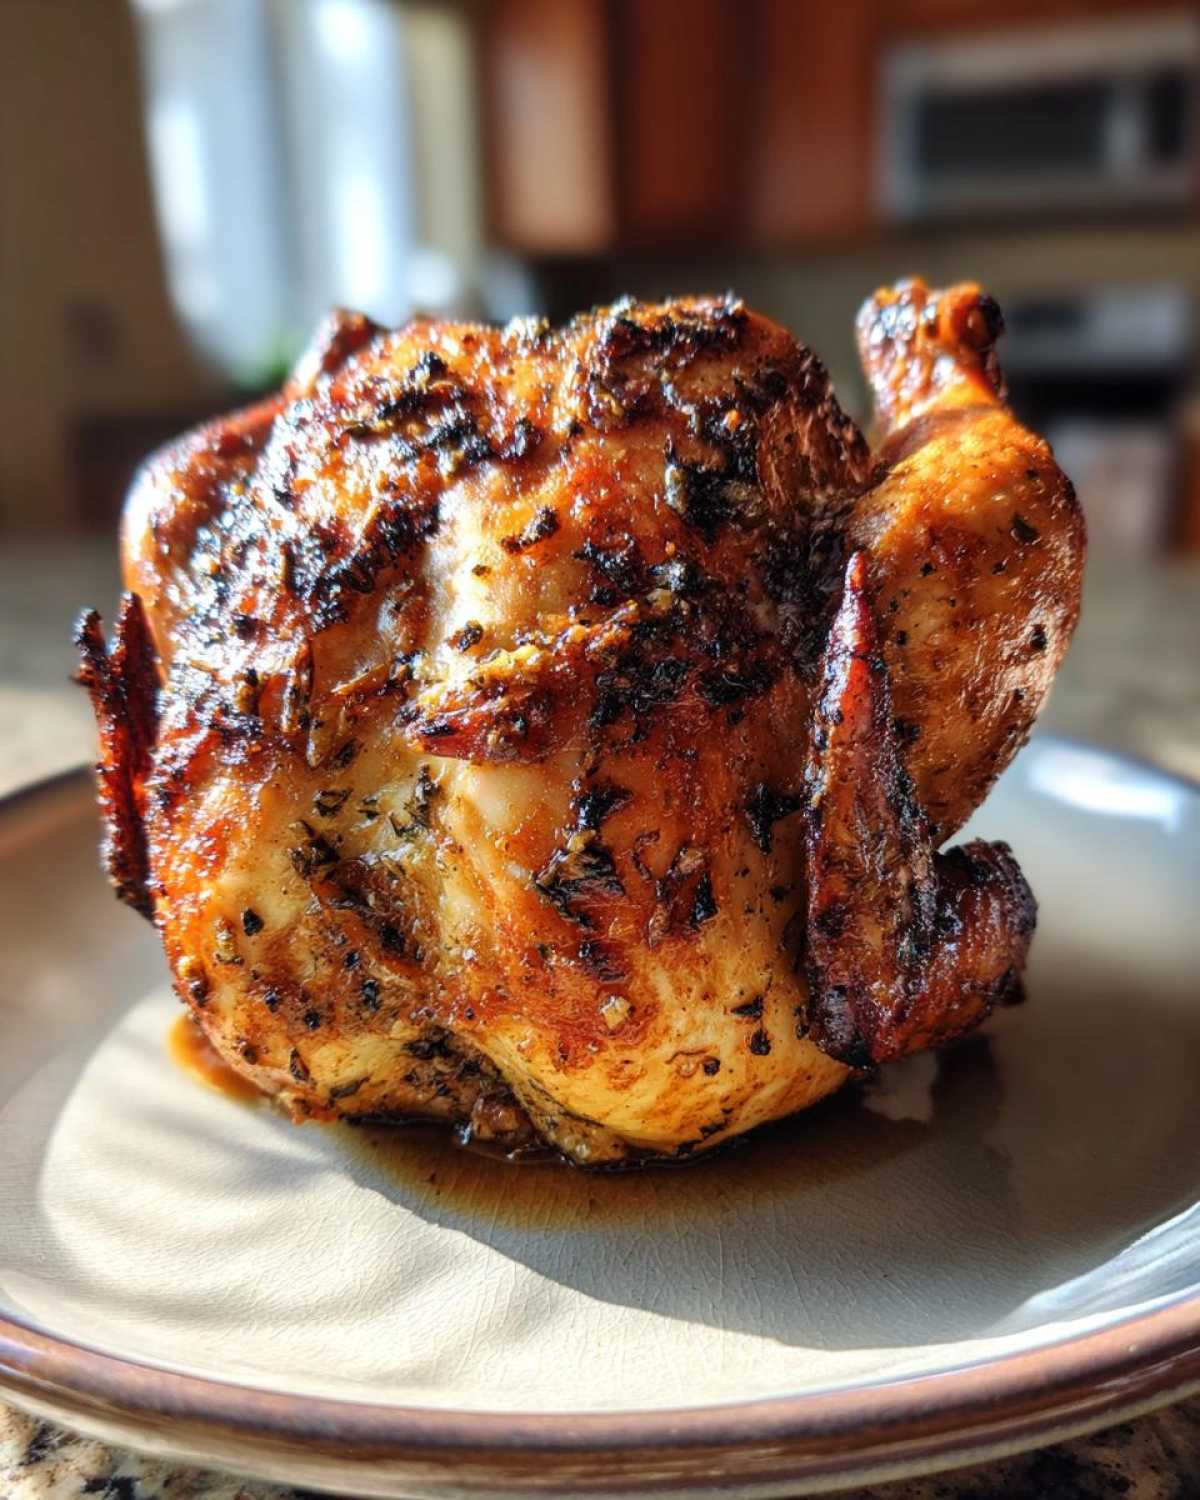
Hey there, fellow home cooks! Sienna here from The Cook Chic, and I’m so excited to share one of my absolute favorite ways to make chicken on the grill: Beer Can Grilled Chicken. Trust me, if you want a truly moist whole chicken with amazing flavor, this is the recipe you need in your life. It’s a method that just gives you perfect results every time.
This isn’t a fancy, complicated dish. It’s simple, straightforward, and delivers big on taste. I remember the first time I tried making this; I was a little skeptical about balancing a chicken on a beer can. But one bite of that incredibly juicy meat and crispy skin, and I was hooked! It quickly became a go-to in my own backyard, a recipe I love pulling out when friends and family come over. There’s just something special about a perfectly cooked, moist whole chicken fresh off the grill.
It’s a little bit of kitchen magic happening right on your barbecue. The beer inside the can creates steam as it heats up, keeping the inside of the chicken wonderfully moist while the outside gets beautifully golden and crispy. It’s the best of both worlds!
So, let’s get out there and make some amazing Beer Can Grilled Chicken together!
Why You’ll Love This Beer Can Grilled Chicken (Moist Whole Chicken)
- It’s incredibly easy to do, even for grilling newbies.
- You get the most wonderfully moist chicken you’ve ever had from a grill.
- The flavor is fantastic, with a lovely smoky hint from the grill.
- It’s a fun and impressive way to cook a whole chicken that always gets compliments.
- Clean-up is surprisingly simple after the cooking is done.
Gathering Your Ingredients for Beer Can Grilled Chicken (Moist Whole Chicken)
Ready to make some delicious Beer Can Grilled Chicken? You don’t need a ton of fancy stuff. Just simple ingredients that come together for amazing flavor. Here’s what you’ll want to have on hand:
- 1 whole chicken (about 3-4 pounds)
- 1 can (12 ounces) of your favorite beer
- 2 tablespoons of olive oil
- 1 tablespoon of smoked paprika
- 1 teaspoon of garlic powder
- 1 teaspoon of onion powder
- 1 teaspoon of dried thyme
- ½ teaspoon of salt
- ½ teaspoon of black pepper
That’s it! Simple, right? Now let’s get cooking.
Equipment You’ll Need for Perfect Beer Can Grilled Chicken
Making Beer Can Grilled Chicken doesn’t require a kitchen full of gadgets. You’ll just need few key pieces to get the job done right.
- Your trusty grill (gas or charcoal works great!)
- A reliable meat thermometer to check for doneness
- A pair of sturdy tongs for handling the chicken
- Maybe some good grilling gloves for safety
That’s really all there is to it!
Step-by-Step: How to Prepare Beer Can Grilled Chicken (Moist Whole Chicken)
Alright, let’s get down to the fun part! Making Beer Can Grilled Chicken is easier than you might think. Just follow these steps, and you’ll have a perfectly cooked, moist whole chicken that everyone will rave about.
Prepping Your Grill and Chicken for Beer Can Grilled Chicken
First things first, you need to get your grill ready. I like to preheat mine to a medium-high heat, somewhere around 350°F to 375°F. This gives us a nice even cooking temperature. While the grill is heating up, grab your chicken. Make sure you’ve taken out any giblets or the neck from inside the cavity. Give the chicken a good pat down with paper towels. Getting the skin really dry helps it get beautifully crispy later on.
Creating the Flavorful Rub for Your Beer Can Grilled Chicken
Now for the flavor! In a small bowl, I like to mix together the olive oil, smoked paprika, garlic powder, onion powder, dried thyme, salt, and black pepper. This creates a simple yet incredibly tasty rub. Get in there with your hands and rub this mixture all over the chicken. Don’t forget to get some under the skin too! That’s where a lot of the flavor really sinks in.
Setting Up the Beer Can for Your Beer Can Grilled Chicken
Here’s where the beer can comes in! Carefully open your can of beer. I usually pour out about a quarter of it (or take a little sip, you know, for quality control!). This leaves enough liquid to create that wonderful steam. Now comes the slightly tricky part: carefully place the chicken over the open can, easing the can into the cavity. The chicken should be sitting upright, using its legs to balance like a tripod. It might look a little funny, but trust the process!
Grilling Your Beer Can Grilled Chicken to Perfection
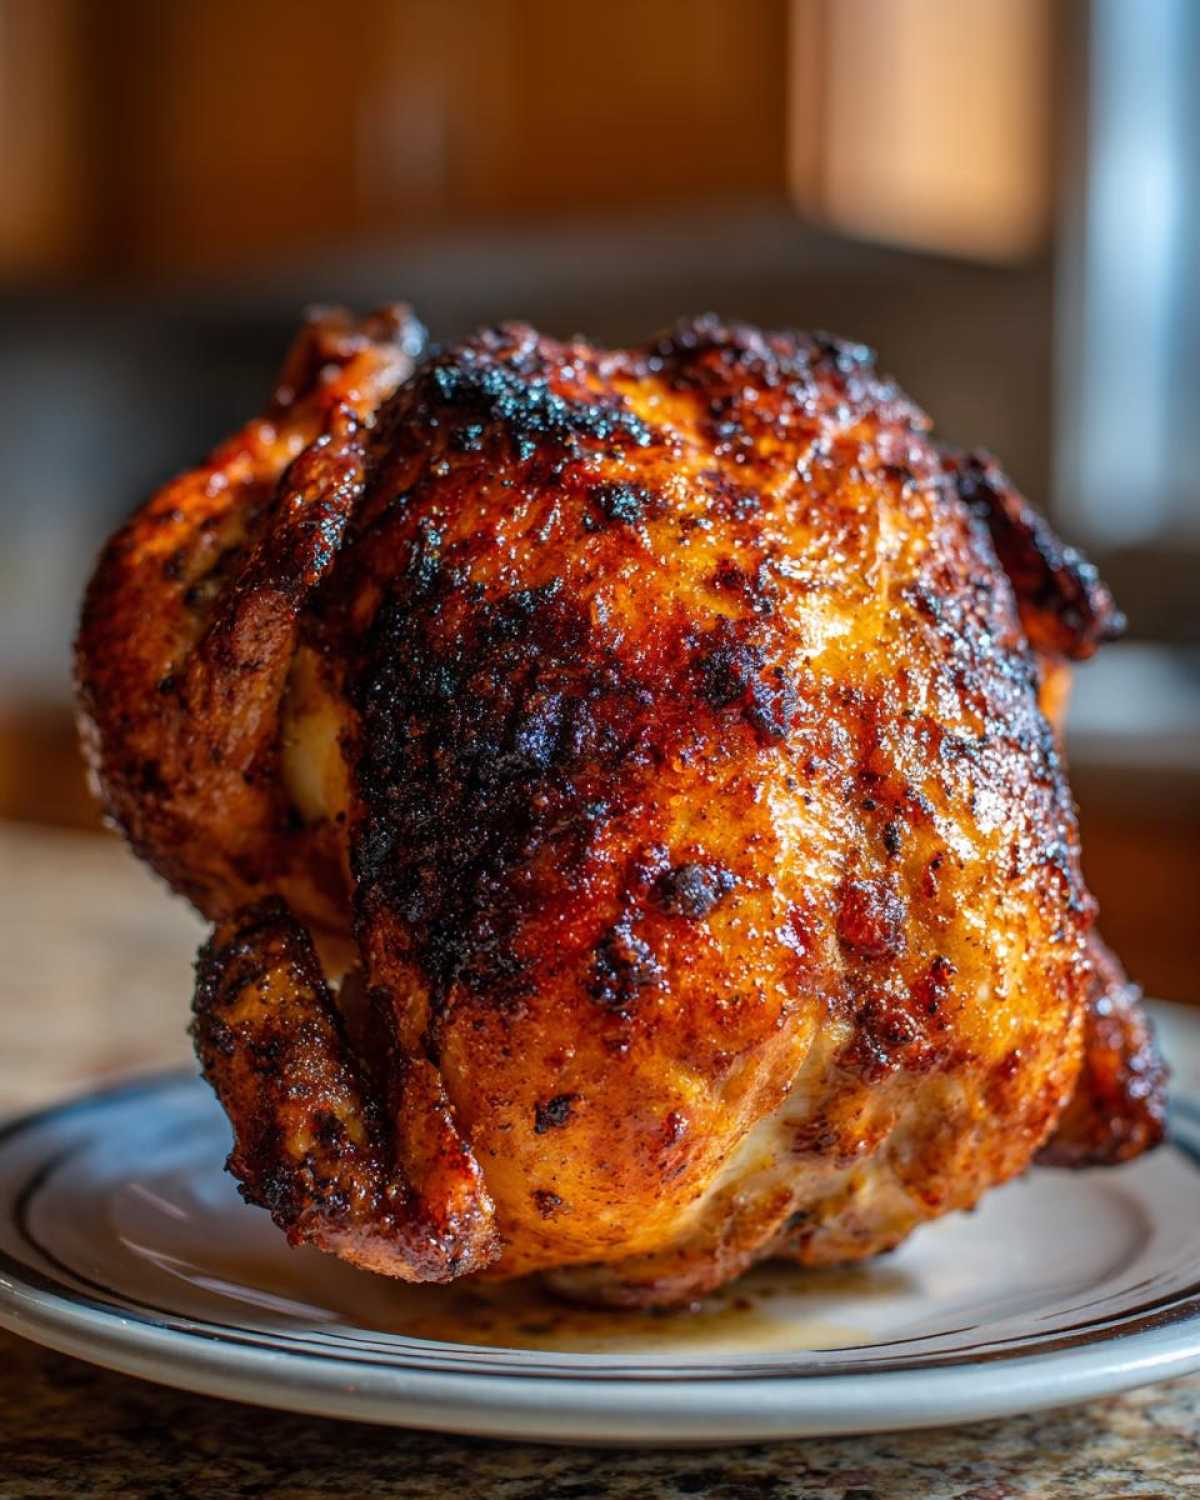
Now it’s time to get grilling! Carefully carry your chicken-and-can contraption out to the preheated grill. Place it right on the grates, standing upright. Close the grill lid. Now, the cooking time will vary a bit depending on your grill and the size of your chicken, but I usually find it takes about 1 ½ to 2 hours. You’ll know it’s done when a meat thermometer inserted into the thickest part of the thigh (make sure you don’t hit the bone!) reads 165°F.
Resting and Carving Your Juicy Beer Can Grilled Chicken
Once your chicken is cooked through, it’s super important to let it rest. Carefully remove the chicken from the grill. I use tongs to lift it by the beer can and transfer it to a cutting board. Let it sit there for 10 to 15 minutes. This resting period is crucial! It lets the juices redistribute throughout the meat, giving you that incredibly moist result. After resting, carefully remove the hot beer can (be careful, it will be hot!) and then you can carve your juicy Beer Can Grilled Chicken and serve!

Tips for Success with Your Beer Can Grilled Chicken (Moist Whole Chicken)
Want to make sure your Beer Can Grilled Chicken turns out perfectly every single time? I’ve picked up a few helpful tips over the years that make a big difference. Don’t be afraid to experiment a little!
- Choose Your Beer Wisely: Any beer works, but think about the flavor. A lighter lager is subtle, while a darker stout can add a richer taste.
- Add Extra Aromatics: Pop some sprigs of rosemary, thyme, or even a bay leaf into the beer can for extra flavor that steams into the chicken.
- Watch the Temperature: Keep an eye on your grill temperature. Too high and the outside burns before the inside cooks.
- Be Gentle with the Can: When it’s time to take the chicken off, be very careful! The can will be hot. Use good tongs to help support it.
- Don’t Skip the Rest: Seriously, resting the chicken is key to keeping it super juicy.
Following these little tricks will help you get that perfect moist whole chicken every time you make Beer Can Grilled Chicken.
Ingredient Notes and Substitutions for Beer Can Grilled Chicken
Making Beer Can Grilled Chicken is pretty forgiving, which is one reason I love it! While the recipe is straightforward, here are a few thoughts on the ingredients.
- Beer: Don’t like beer? You can totally use chicken broth, apple cider, or even water in the can.
- Olive Oil: Any cooking oil works here, like vegetable or canola oil.
- Spices: Feel free to adjust the spice rub to your taste! Add a pinch of cayenne for heat or some dried rosemary.
Just use what you have and what you like!
Serving Suggestions for Your Beer Can Grilled Chicken
Now that you’ve made this amazing Beer Can Grilled Chicken, you need some tasty sides to go with it! This moist whole chicken goes with so many things. I often serve it with classic barbecue sides.
- Grilled corn on the cob is a perfect match.
- A fresh green salad is light and refreshing.
- Creamy coleslaw or potato salad are always crowd-pleasers.
- Roasted potatoes or sweet potatoes are easy and delicious.
Pick your favorites and enjoy your meal!
Frequently Asked Questions About Beer Can Grilled Chicken (Moist Whole Chicken)
Got questions about making Beer Can Grilled Chicken? It’s a popular method, so I get asked about it a lot! Here are some common ones.
What kind of beer is best for Beer Can Grilled Chicken?
Honestly, any beer works! The flavor isn’t super strong. Use whatever you have or like to drink.
Can I use something other than beer?
Yes! Chicken broth, apple cider, or even water work great to keep the chicken moist.
How do I know when my grilled chicken is done?
Always use a meat thermometer! Insert it into the thickest part of the thigh, away from the bone. It’s done when it reaches 165°F.
Is Beer Can Chicken safe?
Yes, when done properly! Just be careful with the hot can when removing it. The steam inside is very hot.
Why is resting the chicken important?
Resting lets the juices settle back into the meat. This is key to getting a super moist whole chicken.
Estimated Nutritional Information
Just so you have an idea, here is some estimated nutritional information for this Beer Can Grilled Chicken. Keep in mind that these are just estimates and can vary based on the exact ingredients you use and the size of your servings.
- Serving Size: 1 serving
Please note that specific values for Calories, Sugar, Sodium, Fats, Carbohydrates, Fiber, Protein, and Cholesterol were not available in the recipe data provided.
This information is just a general guide.
Share Your Beer Can Grilled Chicken Experience
I really hope you give this Beer Can Grilled Chicken a try! If you do, I’d absolutely love to hear how it turned out for you. Leave a comment below and let me know! Did you love how moist it was? What sides did you serve? Happy grilling!
Print
Beer Can Grilled Chicken: the 1 secret to juicy perfection
- Total Time: 1 hour 45 minutes to 2 hours 15 minutes
- Yield: 4-6 servings
Description
Learn how to grill a whole chicken using a beer can for incredibly moist and flavorful results. This method is simple and produces a beautifully cooked chicken.
Ingredients
- 1 whole chicken (3-4 lbs)
- 1 can (12 oz) beer (any kind)
- 2 tbsp olive oil
- 1 tbsp smoked paprika
- 1 tsp garlic powder
- 1 tsp onion powder
- 1 tsp dried thyme
- ½ tsp salt
- ½ tsp black pepper
Instructions
- Preheat your grill to medium-high heat (around 350-375°F).
- Remove the giblets and neck from the chicken cavity. Pat the chicken dry with paper towels.
- In a small bowl, whisk together the olive oil, smoked paprika, garlic powder, onion powder, thyme, salt, and pepper to create a rub.
- Rub the spice mixture all over the chicken, including under the skin.
- Open the beer can and pour out about ¼ of the beer (or take a sip!).
- Carefully place the chicken over the open beer can, inserting the can into the cavity. The chicken should be upright, with the legs acting as a tripod to support it.
- Place the chicken on the grill, standing it upright. Close the grill lid.
- Grill for 1 ½ to 2 hours, or until a meat thermometer inserted into the thickest part of the thigh (without touching the bone) reads 165°F (74°C).
- Carefully remove the chicken from the grill, using tongs to lift it by the beer can and transfer it to a cutting board.
- Let the chicken rest for 10-15 minutes before carving and serving.
Notes
- You can use any type of beer you like.
- For added flavor, you can add herbs like rosemary or bay leaves to the beer can.
- Be careful when removing the hot beer can from the chicken.
- Resting the chicken is crucial for juicy meat.
- Prep Time: 15 minutes
- Cook Time: 1.5 to 2 hours
- Category: Main Course
- Method: Grilling
- Cuisine: American
Nutrition
- Serving Size: 1 serving


Comments are closed.